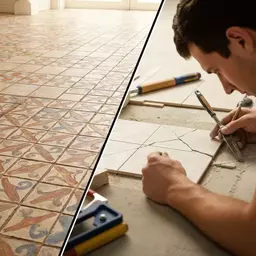
Retyling Mistakes to Avoid
What if the success of your tiling project hinged on one crucial factor that often gets overlooked? Preparation is key, and understanding common mistakes can save time and money.
What You Will Learn
- The importance of thorough surface preparation to enhance tile adhesion.
- How selecting the right adhesive can prevent future tile failure.
- Effective layout planning techniques to avoid misalignment and wasted materials.
- The critical role of moisture barriers in extending the lifespan of your tiles.
Key Tiling Mistakes vs. Essential Preparations
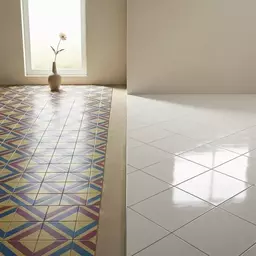
Understanding and avoiding common tiling mistakes is crucial for a durable and aesthetically pleasing finish. Below is a comparison of common pitfalls and the necessary preparation steps to ensure a successful tiling project.
Common Tiling Mistakes
- ✘ Inadequate Surface Preparation
- ✘ Ignoring Moisture Issues
- ✘ Choosing Wrong Adhesive
- ✘ Poor Layout Planning
Essential Preparation Steps
- ✔ Clean & Level Surfaces
- ✔ Install Moisture Barriers
- ✔ Select Correct Adhesive
- ✔ Plan Layout Accurately
Understanding Common Tiling Mistakes: Why Preparation Matters
When embarking on a tiling project, it's essential to recognize common tiling mistakes. Not only can these errors disrupt the flow of your installation, but they can also lead to costly repairs down the line. By understanding these pitfalls, you can better prepare and ensure a successful outcome for your project.
As someone who has navigated various tiling challenges, I’ve seen firsthand how a lack of preparation can impact the final results. The right preparation is crucial—it sets the tone for everything that follows. So, let’s dive into some of those key mistakes and why catching them early can save you both time and money.
Identifying the Key Tiling Mistakes
- Inadequate surface preparation
- Ignoring moisture issues
- Choosing the wrong adhesive
- Poor layout planning
Avoiding these common mistakes starts with recognizing them. For example, inadequate surface preparation can lead to tiles that crack or pop up, compromising the entire installation. It's essential to address these issues before you even set your first tile. Further insights into preventing such errors can be found by consulting resources on common mistakes in various professional contexts, highlighting the universal importance of foundational work. Additionally, guides from institutions like the Fashion Institute emphasize avoiding common pitfalls through careful planning. For more generalized advice on how to avoid errors in any craft, the CFDA's style guide provides principles applicable to meticulous work.
By being aware of these pitfalls, you can take proactive steps to mitigate them. Preparation is not just a box to check off; it’s a critical element of achieving a high-quality finish that stands the test of time.
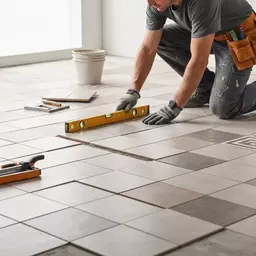
Avoiding Poor Surface Preparation: The Foundation of Success
One of the most overlooked aspects of tiling is surface preparation. It’s the foundation of any tiling project, and getting it right is crucial for the longevity of your installation. If the surface isn’t clean or level, it’ll affect tile adhesion, leading to issues that could arise later on.
At Precision Tiling Solutions, we emphasize thorough preparation. It’s what allows us to deliver projects that not only look great but last for years. Let’s explore some key elements of surface preparation that are often underestimated.
Importance of Surface Cleanliness and Leveling
- Cleaning the surface removes debris and contaminants
- Leveling ensures even tile placement
- Proper preparation prevents tile failure
Cleaning the surface might seem straightforward, but it's a crucial step. Any dirt or grease can significantly impact how well your adhesive bonds with the substrate. Additionally, ensuring the surface is level is equally important. An uneven surface can cause tiles to shift or crack, compromising their aesthetic and functional integrity.
As someone who values meticulous craftsmanship, I cannot stress enough how these steps lay the groundwork for a successful tiling project. A little extra effort in preparation pays off in the long run!
Choosing the Right Underlayment for Tile Installation
Selecting the appropriate underlayment is another critical consideration. Different tile types and environments require different underlayment solutions to ensure optimal performance. For instance, a moisture barrier might be necessary in high-humidity areas, while soundproofing underlayment can benefit multi-story buildings.
When choosing an underlayment, consider the following:
- Type of tile being installed
- Environment (moisture level, temperature changes)
- Specific requirements for soundproofing or insulation
Understanding these factors allows you to make informed decisions, ensuring your tile installation is strong and durable. It’s all part of the preparation process that we at Precision Tiling Solutions take seriously!
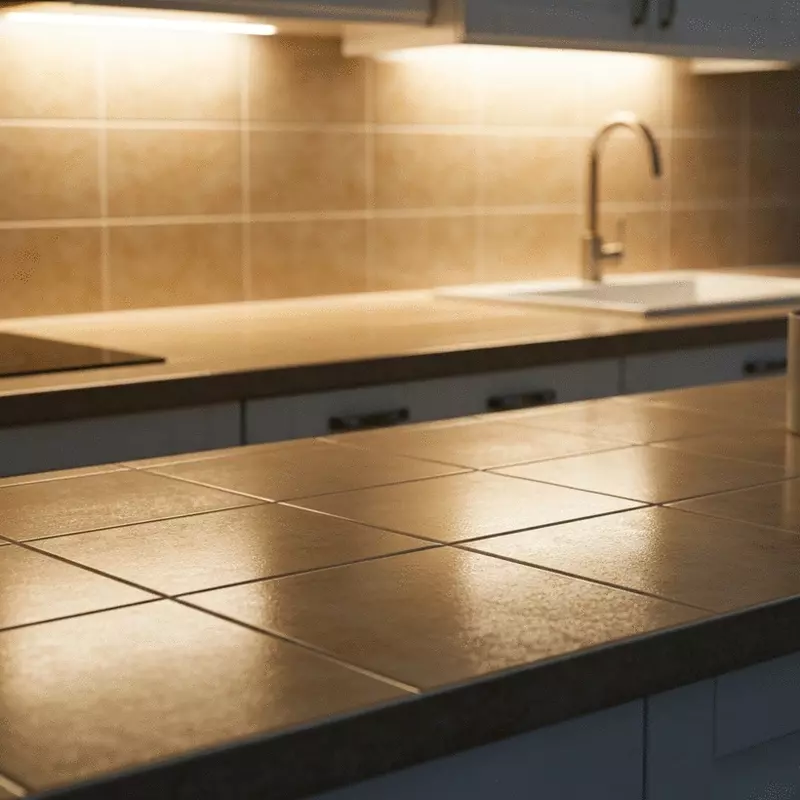
Understanding the Role of Moisture Barriers in Surface Preparation
Moisture barriers are essential in tile installations, especially in areas prone to dampness, such as bathrooms or kitchens. These barriers help to prevent moisture from seeping into your tiles and can significantly extend their lifespan. Without proper moisture protection, tiles can become discolored, moldy, or even develop cracks over time.
Here are some benefits of using moisture barriers:
- Prevents mold growth
- Protects the adhesive from moisture damage
- Enhances durability of the tile installation
Taking the time to install a moisture barrier may seem like an extra step, but it’s a small investment for peace of mind, ensuring your tiles remain beautiful and functional for years to come.
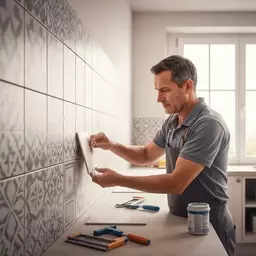
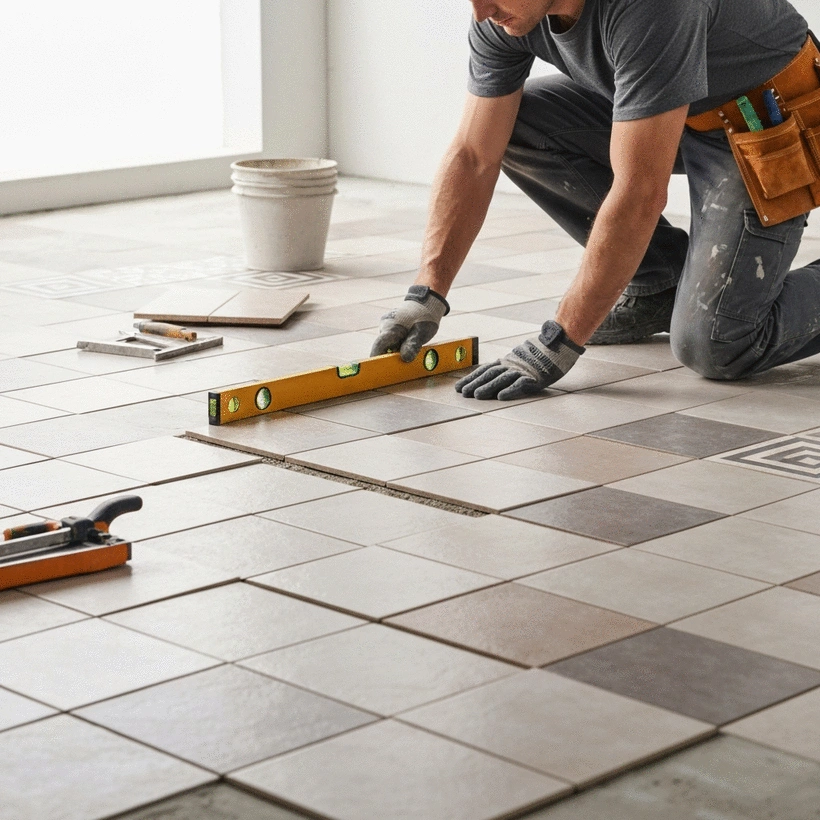
Planning Your Tile Layout: Avoiding Common Mistakes
Proper planning of your tile layout can save you a lot of headaches down the road. Misalignment can lead to unnecessary cuts, wasted materials, and an overall less professional look. At Precision Tiling Solutions, we believe that a well-thought-out layout is the key to a stunning finish!
Let’s explore some techniques and tools that can help you achieve a perfect tile layout.
Effective Layout Planning Techniques
- Measure your space accurately
- Use a dry layout to visualize your design
- Start from the center for symmetry
By measuring your space accurately and laying out the tiles dry before setting them, you can visualize the final look and make adjustments as needed. This simple step can save you from many common tiling mistakes!
Remember, taking the time to plan your layout effectively will pay off in a beautifully finished project that you can take pride in. And with Precision Tiling Solutions by your side, you’ll always have the support and expertise needed to make it happen!
Pro Tip
Before starting your tiling project, always take the time to create a detailed plan. Sketch out your layout, measure your space accurately, and even consider using tile layout software if available. This upfront investment in planning can save you from costly mistakes and ensure a more streamlined installation process.
Frequently Asked Questions About Tiling Preparation
- Q: Why is surface preparation so important for tiling?
- A: Thorough surface preparation, including cleaning and leveling, is crucial because it ensures optimal tile adhesion. Without it, tiles are prone to cracking, popping up, or shifting, compromising the entire installation's durability and appearance.
- Q: How do I choose the correct adhesive for my tiles?
- A: The correct adhesive depends on the type of tile, the substrate, and the environment (e.g., moisture levels). It’s important to research what adhesive is recommended for your specific materials to ensure a strong and lasting bond.
- Q: What role do moisture barriers play in tile installation?
- A: Moisture barriers prevent water from seeping into tiles and the substrate, especially in damp areas like bathrooms and kitchens. They protect against mold growth, adhesive damage, and extend the overall lifespan and aesthetic integrity of your tile installation.
- Q: What are the benefits of careful layout planning?
- A: Careful layout planning, which includes accurate measurements and dry layouts, helps prevent misalignment, reduces wasted materials from unnecessary cuts, and contributes to a more professional and aesthetically pleasing final look.
- Q: What are some common mistakes to avoid in tiling projects?
- A: Common mistakes include inadequate surface preparation, ignoring moisture issues, choosing the wrong adhesive, and poor layout planning. Addressing these proactively can save significant time and money in the long run.
Summarizing Key Takeaways for Flawless Tile Installation
Throughout this article, we've explored various common tiling errors and provided expert tips to help you navigate your project effectively. From the significance of proper surface preparation to the importance of selecting the right adhesives and grouts, each element plays a crucial role in achieving a flawless tile installation.
Here’s a recap of the key points discussed:
- Surface Preparation: Clean and level your surfaces to enhance tile adhesion.
- Adhesive Selection: Choose the correct adhesive for your specific tile material.
- Grouting Techniques: Pay attention to timing and use the right grout for your tiles.
- Maintenance: Regular upkeep ensures the longevity and beauty of your tiles.
Encouraging Your Successful Tiling Journey
Next Steps for Your Tiling Project
As you embark on your tiling journey, I encourage you to apply the insights and tips we've discussed. Remember, preparation is key, and taking the time to plan your layout and select the right materials can make all the difference!
Have any experiences or tips of your own? I’d love to hear about them! Sharing your journey not only helps you reflect but can inspire others in their projects as well.
Further Resources and Tools for DIY Enthusiasts
If you’re looking to deepen your knowledge, I have some fantastic resources available. Check out these downloadable checklists and video tutorials that can further guide you:
- DIY Tiling Checklist - Your step-by-step guide!
- Video Tutorial: Surface Preparation Basics
- Recommended Tools for Tile Installation
With the right preparation and resources from Precision Tiling Solutions, you’re well on your way to a successful tiling project. Happy tiling!
Recap of Key Points
Here is a quick recap of the important points discussed in the article:
- Surface Preparation: Clean and level your surfaces to enhance tile adhesion.
- Moisture Management: Install moisture barriers in damp areas to prevent damage.
- Adhesive Selection: Choose the correct adhesive for your specific tile material.
- Layout Planning: Measure accurately and visualize your design with a dry layout.
- Regular Maintenance: Ensure longevity and beauty of your tiles through upkeep.