Understanding the Retiling Process
Are your tiles starting to show signs of wear and tear? If so, it might be time to consider a retiling project. Understanding the retiling process can empower you with the knowledge needed to refresh your space effectively. Here’s what you can expect to learn about this transformative journey!
What You Will Learn
- Recognize the signs that indicate it’s time for retiling, such as damage or changing design trends.
- Understand the typical steps involved in the retiling process, from assessment to final inspection.
- Explore best practices for maintaining your newly tiled surfaces to extend their lifespan.
- Determine when to seek professional help versus taking a DIY approach for your tiling project.
The Retiling Process: Key Stages and Maintenance
This visual outlines the crucial steps in a retiling project and essential post-installation care for lasting beauty.
Understanding The Need For Retiling
- • Worn or Damaged Tiles
- • Changing Design Trends
- • Improved Functionality
- • Increase Property Value
What To Expect During Retiling
- • Assessment & Evaluation
- • Surface Preparation
- • Tile Installation
- • Final Inspection
Maintaining Your Newly Tiled Surface
- • Regular Cleaning
- • pH-Neutral Cleaners
- • Avoid Harsh Chemicals
- • Seal Grout Lines (6 months)
When To Seek Professional Help
- • Lack of Installation Experience
- • Complex Layout/Design
- • Time Constraints
- • Unsure of DIY Capabilities
The Retiling Process: A Comprehensive Overview
At Precision Tiling Solutions, I believe that understanding the retiling process is essential for a successful home transformation. Whether you’re looking to refresh an old space or enhance a room's aesthetic, knowing when and why to consider retiling can make all the difference. Let's delve into the key aspects of this process together!
Understanding the Need for Retiling: Why and When to Consider It
It's important to recognize that retiling isn't just about aesthetics. There are several compelling reasons to consider this project:
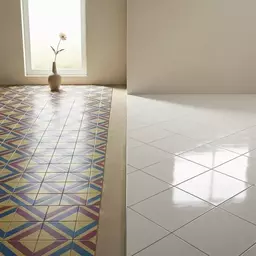
- Worn or Damaged Tiles: If your tiles are cracked, chipped, or stained, a fresh installation can restore their beauty and functionality.
- Changing Trends: As design trends evolve, you might find that your current tiles no longer fit the look you're aiming for. For example, staying updated on design trends can be as important as understanding accreditation in higher education, as discussed by the Senate Committee on Health, Education, Labor & Pensions.
- Improved Functionality: In high-traffic areas, certain tiles may not hold up well. Retiling can provide more durable options.
- Increase Property Value: A modern tile layout can significantly boost your home's appeal to potential buyers.
These factors often signal that it’s time to take action. Have you noticed any tile issues in your home that could benefit from a makeover?
What to Expect During the Retiling Process
Embarking on a retiling project can seem daunting, but knowing what to expect makes it manageable. Here's a brief overview of the typical steps involved:
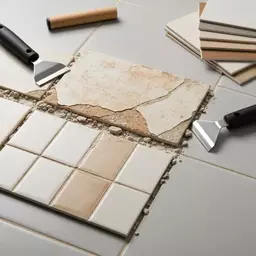
- Assessment: We begin with a thorough evaluation of your current tiles and substrate conditions.
- Preparation: This involves removing old tiles and preparing the surface for the new ones.
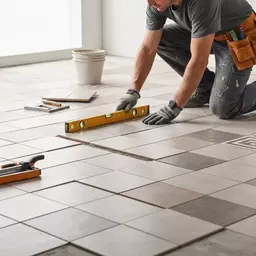
- Installation: The new tiles are set, grouted, and sealed to ensure a flawless finish.
- Final Inspection: I ensure every detail meets our high standards of quality before project completion.
Each step is crucial to achieving an outstanding result. It’s not just about laying down tiles; it’s about creating a space that reflects your vision and lifestyle!
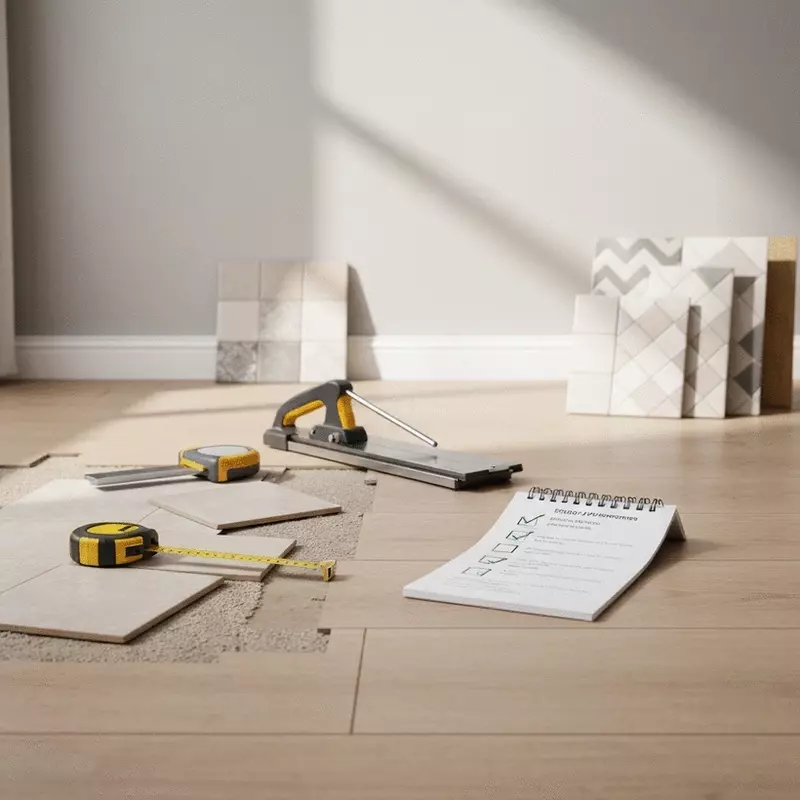
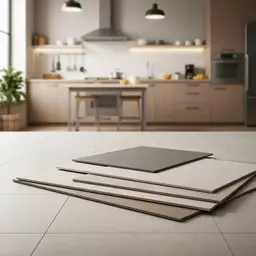
Preparing for Your Retiling Project
Preparation is the key to a successful retiling project. Let's explore how to set the stage for a smooth process!
Interactive Poll: Your Tiling Preferences
As you consider your tiling options, we’d love to hear from you! What aspect of retiling excites you the most?
Final Thoughts on the Retiling Process
As you finish your retiling project, it’s time to reflect on the importance of maintaining your beautiful new surfaces. Proper care can extend the life of your tiles and keep them looking fresh. A few simple maintenance practices can make all the difference!
After installation, remember that daily cleaning is crucial. Regularly sweeping or vacuuming helps prevent dirt accumulation, while appropriate cleaning products will keep your grout lines looking pristine. Let's dive into some effective tips for maintaining your newly tiled surface.
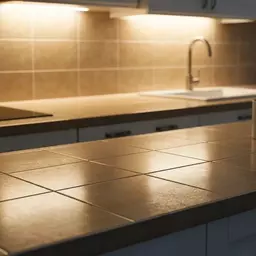
Maintaining Your Newly Tiled Surface: Post-Installation Care
To ensure long-term durability, here are best practices for maintenance:
- Use a soft broom or vacuum to regularly remove dirt and debris.
- Opt for pH-neutral cleaners specifically designed for tiles.
- Avoid harsh chemicals that can damage your grout or tile surface.
- Seal grout lines every six months to prevent staining and moisture buildup.
By adopting these practices, you’ll not only enhance the appearance of your tiles but also protect your investment. Have you considered how sealing your tiles can really help maintain their beauty over time? It's one of those small steps that leads to big results!
When to Seek Professional Help vs. DIY Approaches
Deciding whether to tackle a tiling project yourself or hire a professional can be a challenge. If you’re contemplating the extent of your skills versus the benefits of expert assistance, ask yourself the following questions:
- Do you have experience with tile installation or repair?
- Are you comfortable handling tools and materials on your own?
- How complex is the layout or design you envision?
- What is your timeline for completing the project? A clear understanding of project timelines and scope is crucial, similar to the discussions surrounding higher education policy, as outlined by the U.S. Department of Education.
At Precision Tiling Solutions, we believe that sometimes, having a professional can save you time and stress. If you’re unsure about your DIY capabilities, don’t hesitate to reach out! We’re here to help guide you through every step of the process, ensuring your project is a success.
Connect With Us for Expert Guidance
If you have questions or need further assistance with your retiling journey, don’t hesitate to contact us! At Precision Tiling Solutions, we pride ourselves on providing high-quality workmanship and ongoing support. Let’s get started on transforming your space together!
FAQs About the Retiling Process: What You Need to Know
We often receive questions about various aspects of tiling. Here are some FAQs to consider as you plan your project:
- What are the main reasons to retile?
Retiling is often considered due to worn or damaged tiles, out-of-date design trends, a need for improved functionality (especially in high-traffic areas), or to increase property value.
- What are the typical steps involved in a retiling project?
A retiling project usually includes an initial assessment and evaluation of existing conditions, thorough surface preparation, the actual tile installation, and a final inspection to ensure quality.
- How can I maintain my newly tiled surface?
To maintain your new tiles, regularly clean them by sweeping or vacuuming, use pH-neutral cleaners, avoid harsh chemicals, and seal grout lines every six months to prevent staining and moisture buildup.
- When should I hire a professional for retiling instead of doing it myself?
Consider hiring a professional if you lack installation experience, the project involves a complex layout or design, you have time constraints, or you are unsure about your DIY capabilities. Professional guidance can save you time and stress, echoing the importance of informed decision-making in matters like federal student aid, as detailed by NASFAA's Higher Education Act Reauthorization Priorities Brief.
- How long does the retiling process typically take?
The duration of a retiling project varies greatly depending on the size of the area, the complexity of the design, and the type of tiles being installed. A small bathroom might take a few days, while a large kitchen or multiple rooms could take several weeks.
These are just a few aspects to ponder. We’re always available to provide answers tailored to your situation!
Get Started on Your Retiling Journey Today!
Are you ready to refresh your space with new tiles? Whether you want to explore creative designs, understand the installation process better, or learn about materials, we’re here to help you every step of the way. Reach out to us at Precision Tiling Solutions, and let's make your tiling dreams come true!
Recap of Key Points
- Assessing the Need for Retiling: Look for worn or damaged tiles, changing design trends, and the potential to increase property value.
- Understanding the Retiling Process: Prepare for assessment, removal, installation, and final inspection to ensure a successful project.
- Maintenance Practices: Regular cleaning, using pH-neutral cleaners, and sealing grout lines every six months are essential for longevity.
- DIY vs. Professional Help: Evaluate your skills and the complexity of the project to decide whether to tackle the job yourself or hire an expert.